Creating Different Mouse Clicks in Control Profiles
Presenter: Alex Dunn, Founder and CEO of Cephable
Goal: This tutorial teaches viewers how to create custom control profiles for various mouse click actions, such as clicking, double-clicking, right-clicking, and middle-clicking, using different types of controls, including voice commands and facial expressions..
If you like videos, this video tutorial is for you.
Don’t like videos? Scroll down.

Download Tutorial PDF
Tutorial PDF walkthrough coming soon!

Mouse Button Samples
Click to download the Mouse Button Samples Shared Profile.
Cephable:Creating Different Mouse Clicks in Control Profiles
1
Important Note
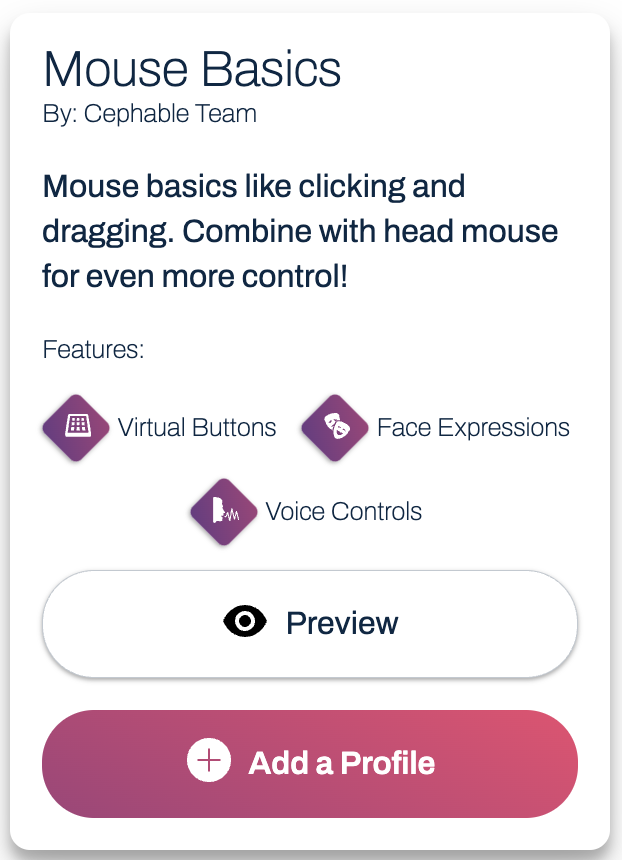
Since the recording of this tutorial – we now have a pre-built community profile, “Mouse Basics” that you can preview & add within our app.
-Click “Create a New Profile” to get started and find the profile.
2
Tutorial Prerequisites
-Download & set up the Cephable desktop app
-Understand the basics of control profiles, voice and expression controls.
-Refer to relevant tutorials if you are not familiar with these concepts.
3
Getting Started
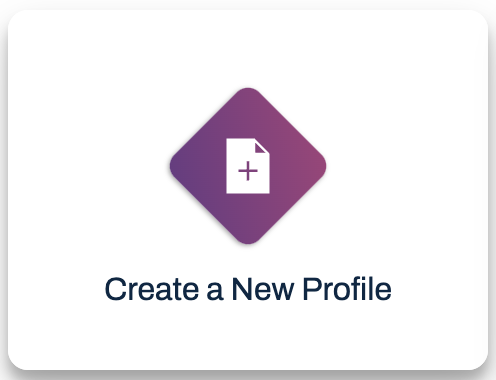
-Click “+” button or “Create A New Profile” on the homepage
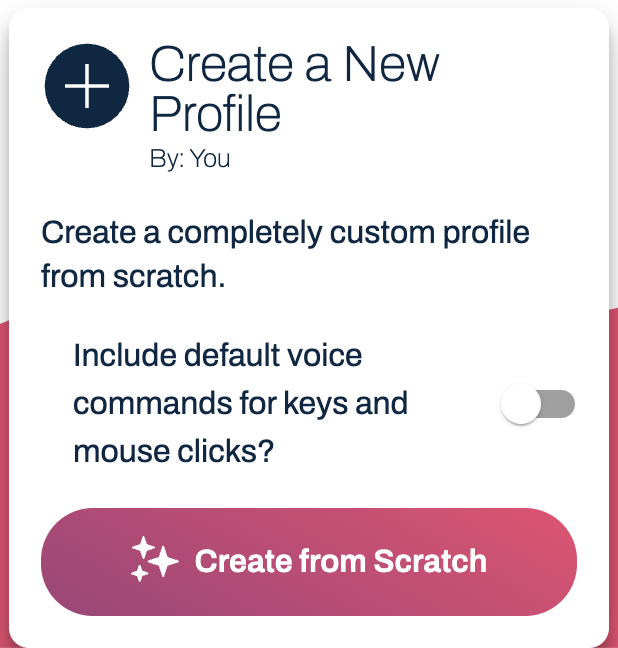
–Choose the “Custom Profile from Scratch” option
–Create without “Default Keys & Buttons” toggled off

4
Create Mouse Click Profile & “Click” Voice Control
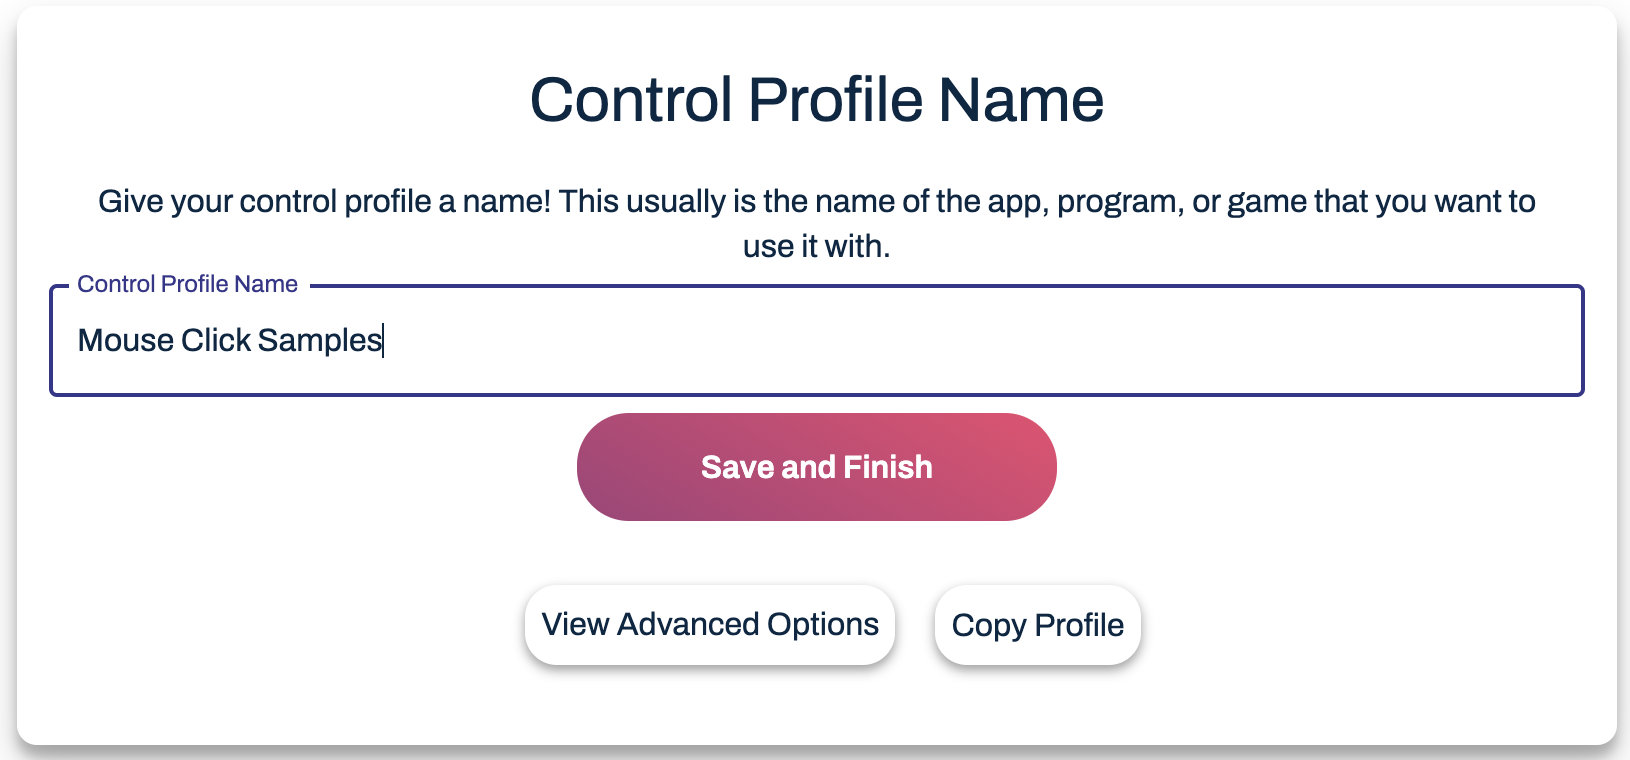
–Give your profile a title such as “Mouse Click Samples” in the Control Profile Name box
-Click “Add a new control”
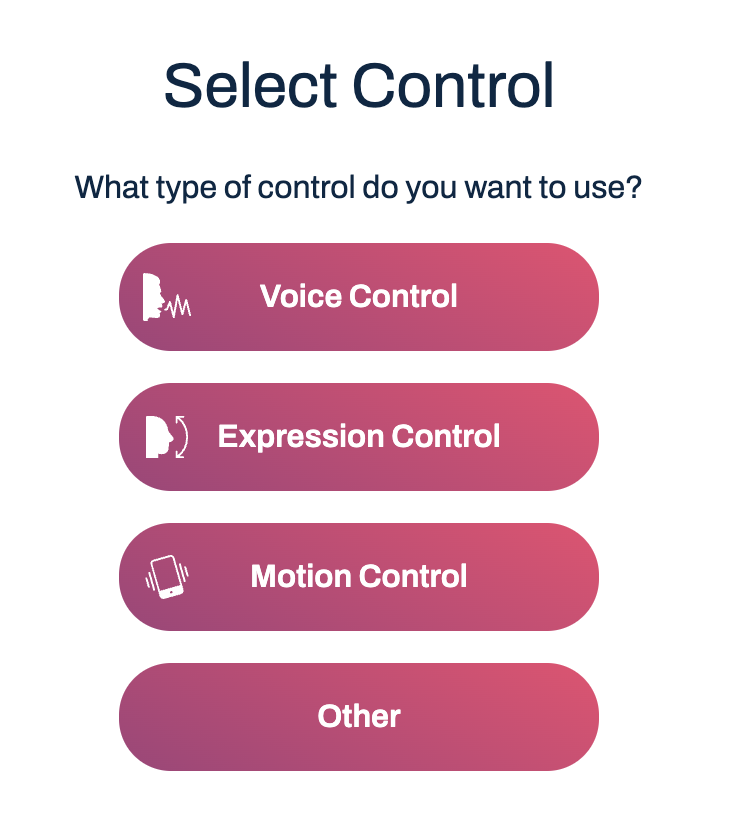
-Select the type of control you would like to use. In this tutorial we chose “Voice Control”
-Type the voice control you would like to say. Here we chose “Click” and then hit “Next”
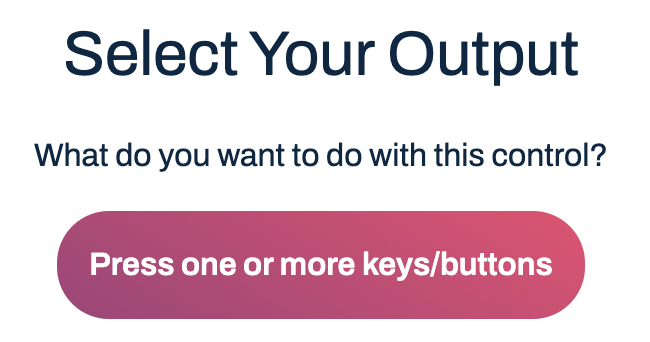
-Choose “Press one or more keys/buttons”
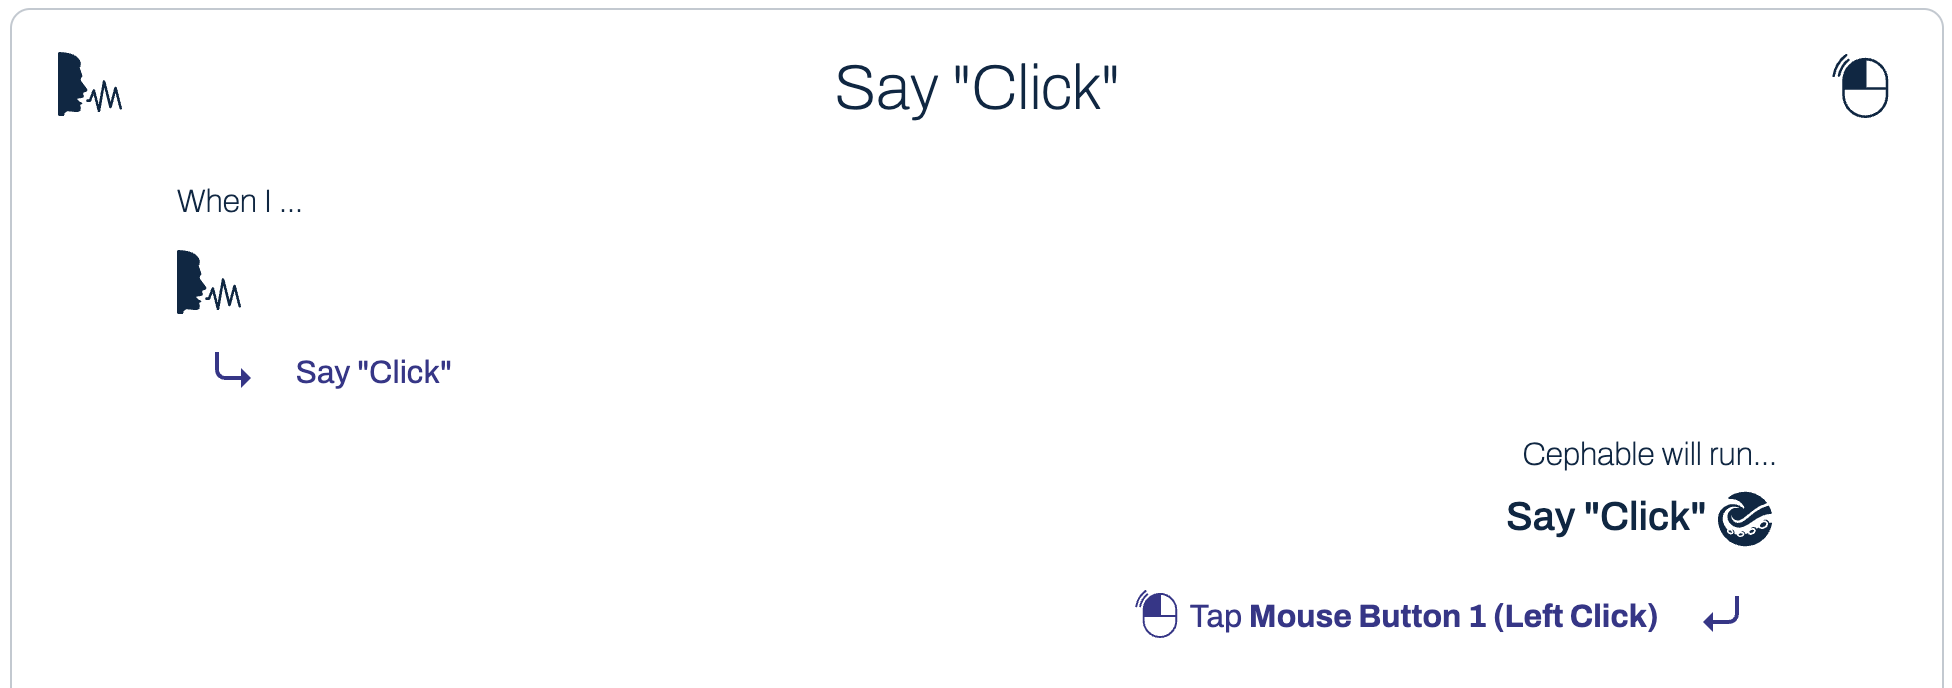
-From the “Key or Button” drop down list, choose “Mouse Button 1 (Left Click)” This is your standard mouse click.
–Now “Finish”
-You can review your input/output settings that you just created in the control summary.

5
Add Right Click Voice Control
–Follow the same steps as above starting with “Add a new control”
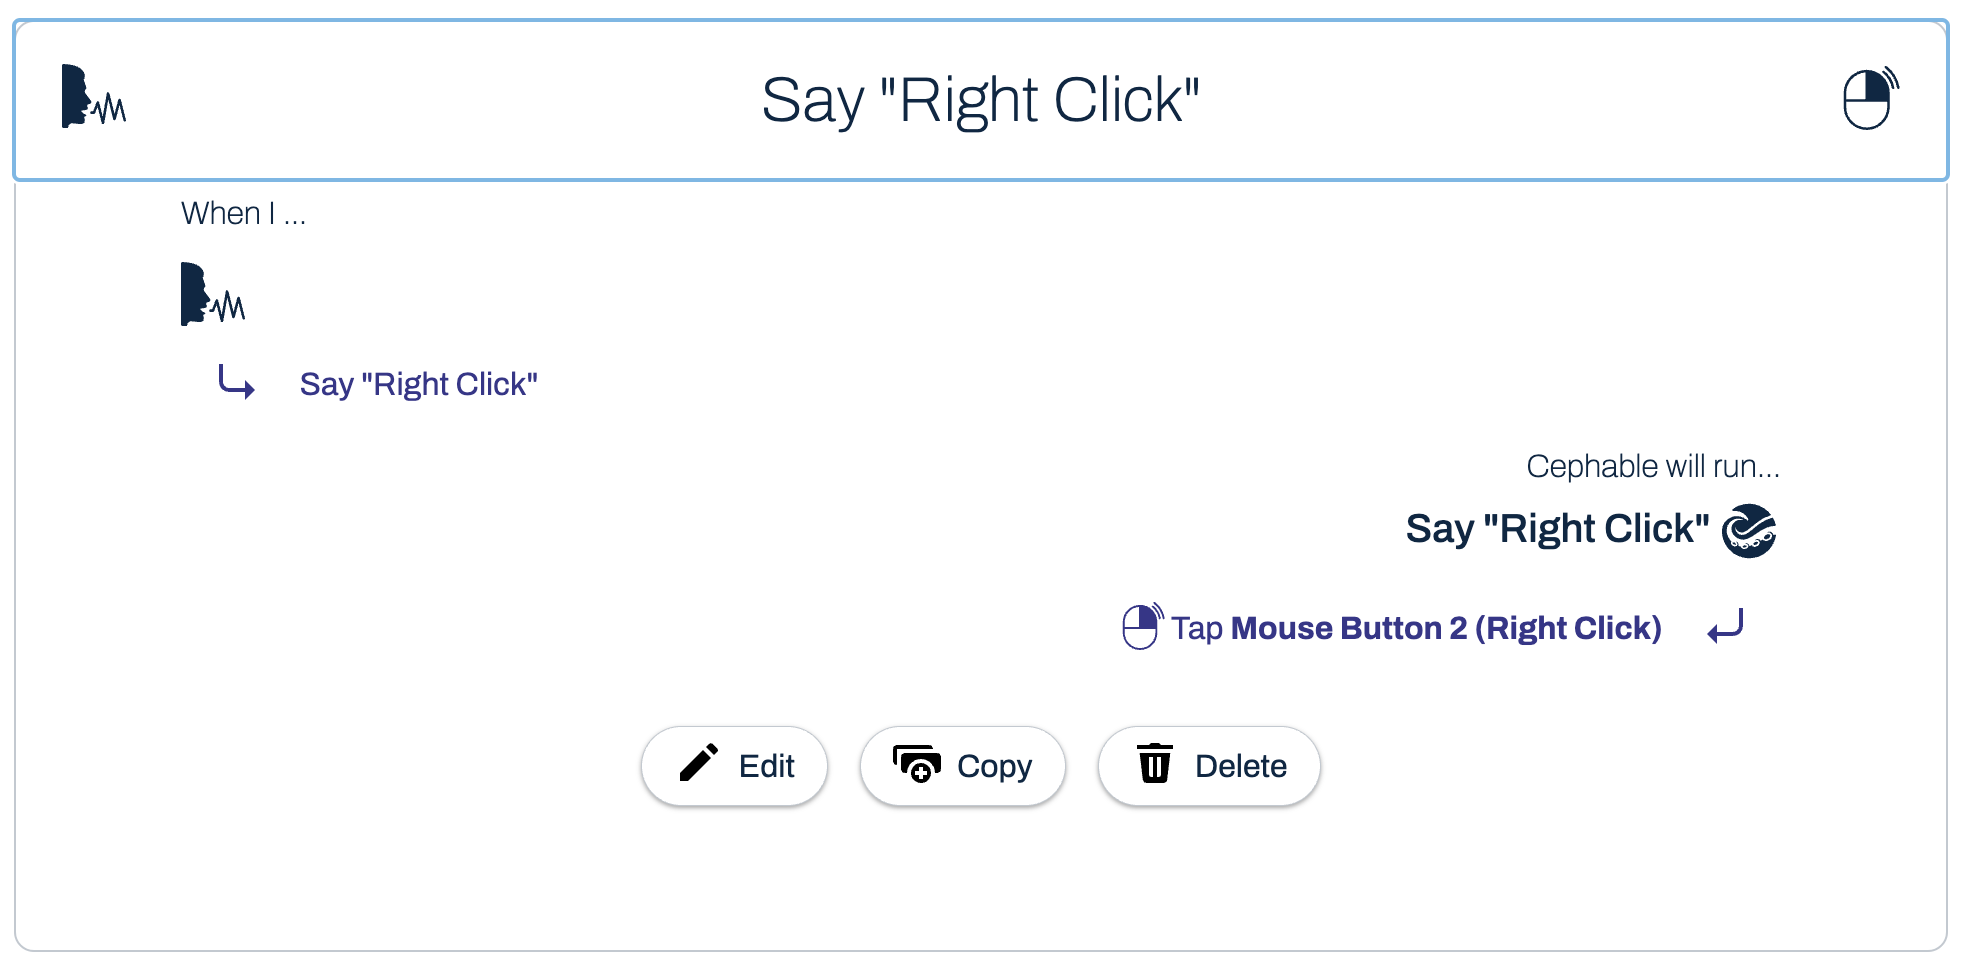
-Add voice control “Right Click” to Press the “Mouse Button 2 (Right Click)” Key.

6
Add Double Click Voice Control
-Again, begin with “Add a new control”
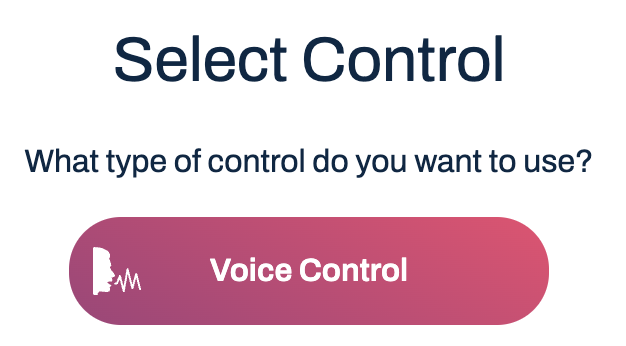
-Click “Voice Control”
-Type “Double Click” as the voice control
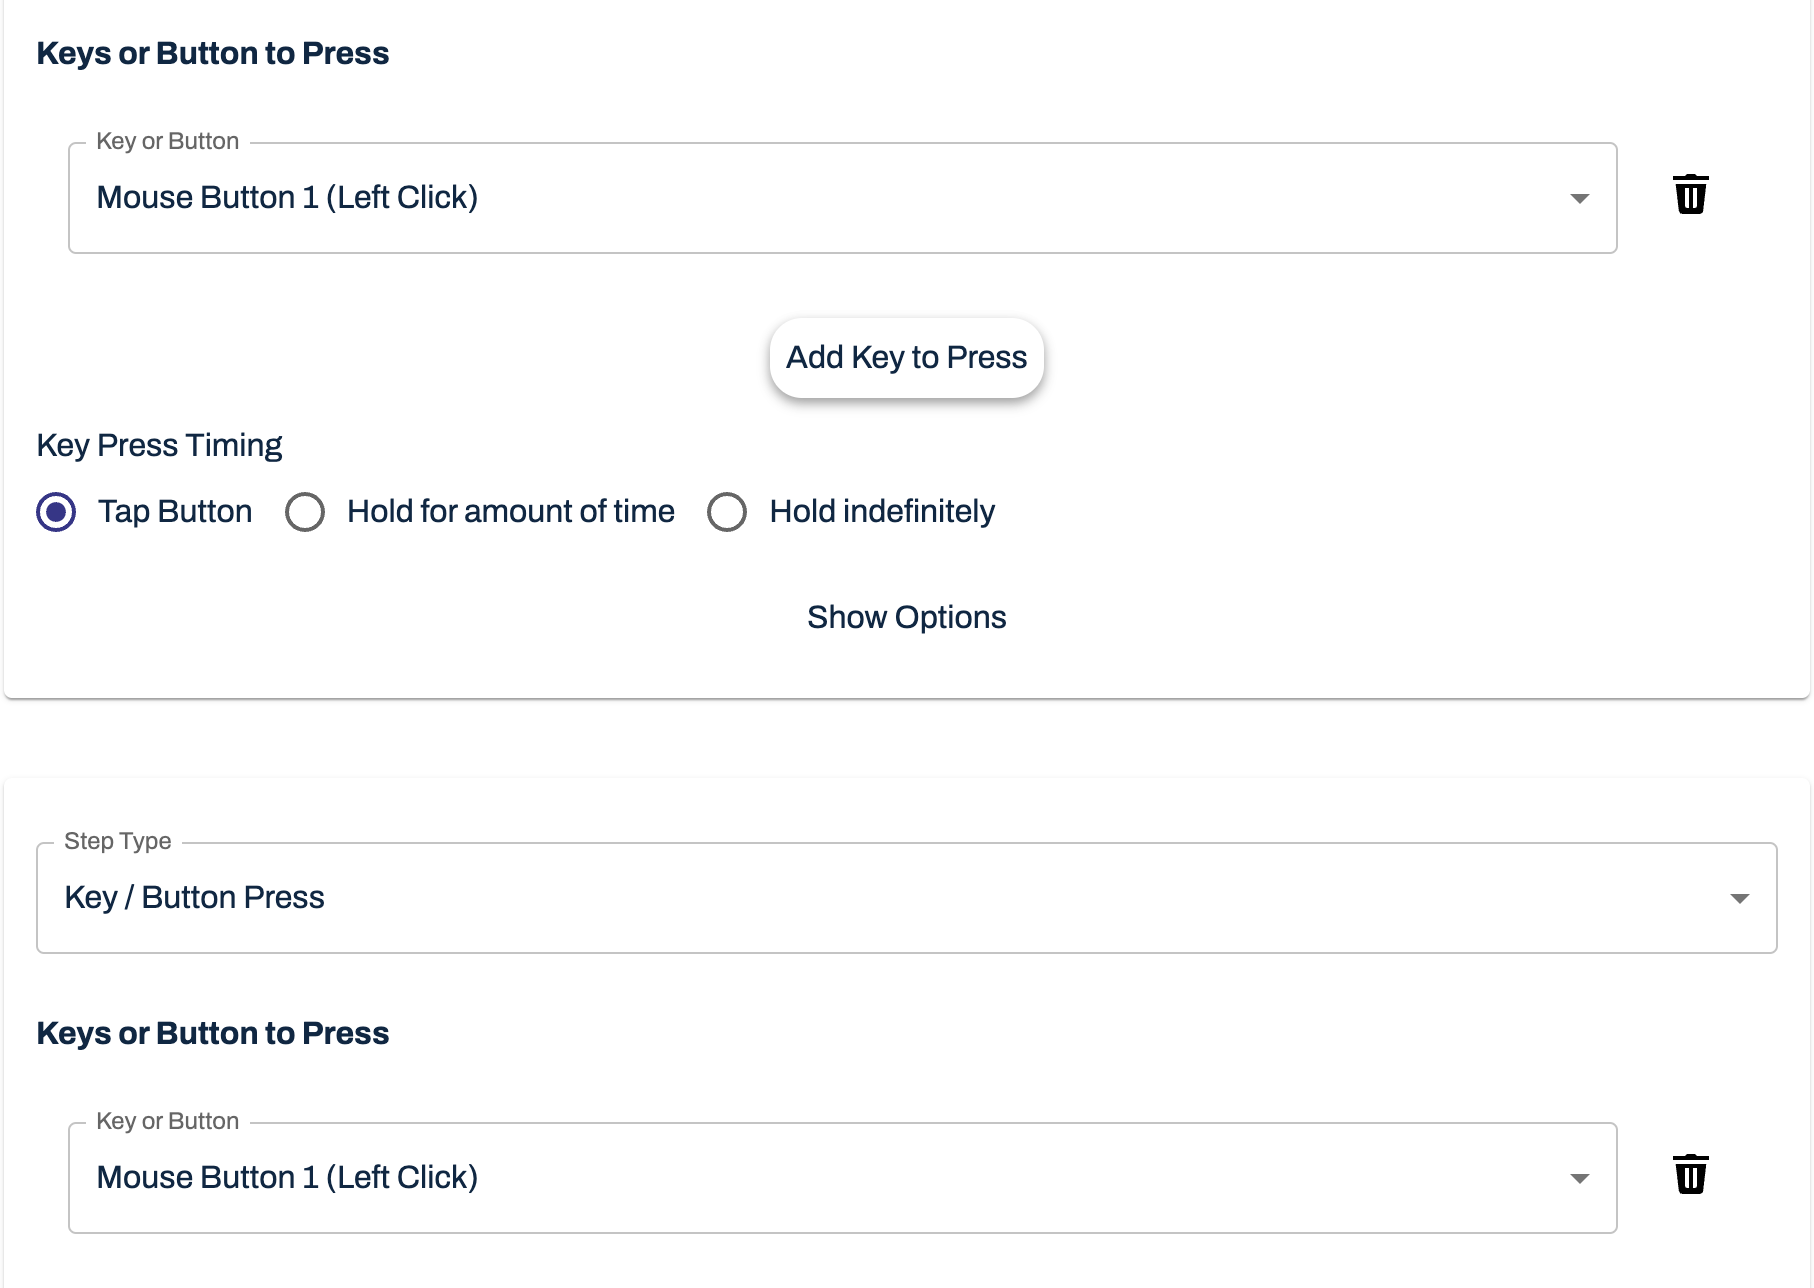
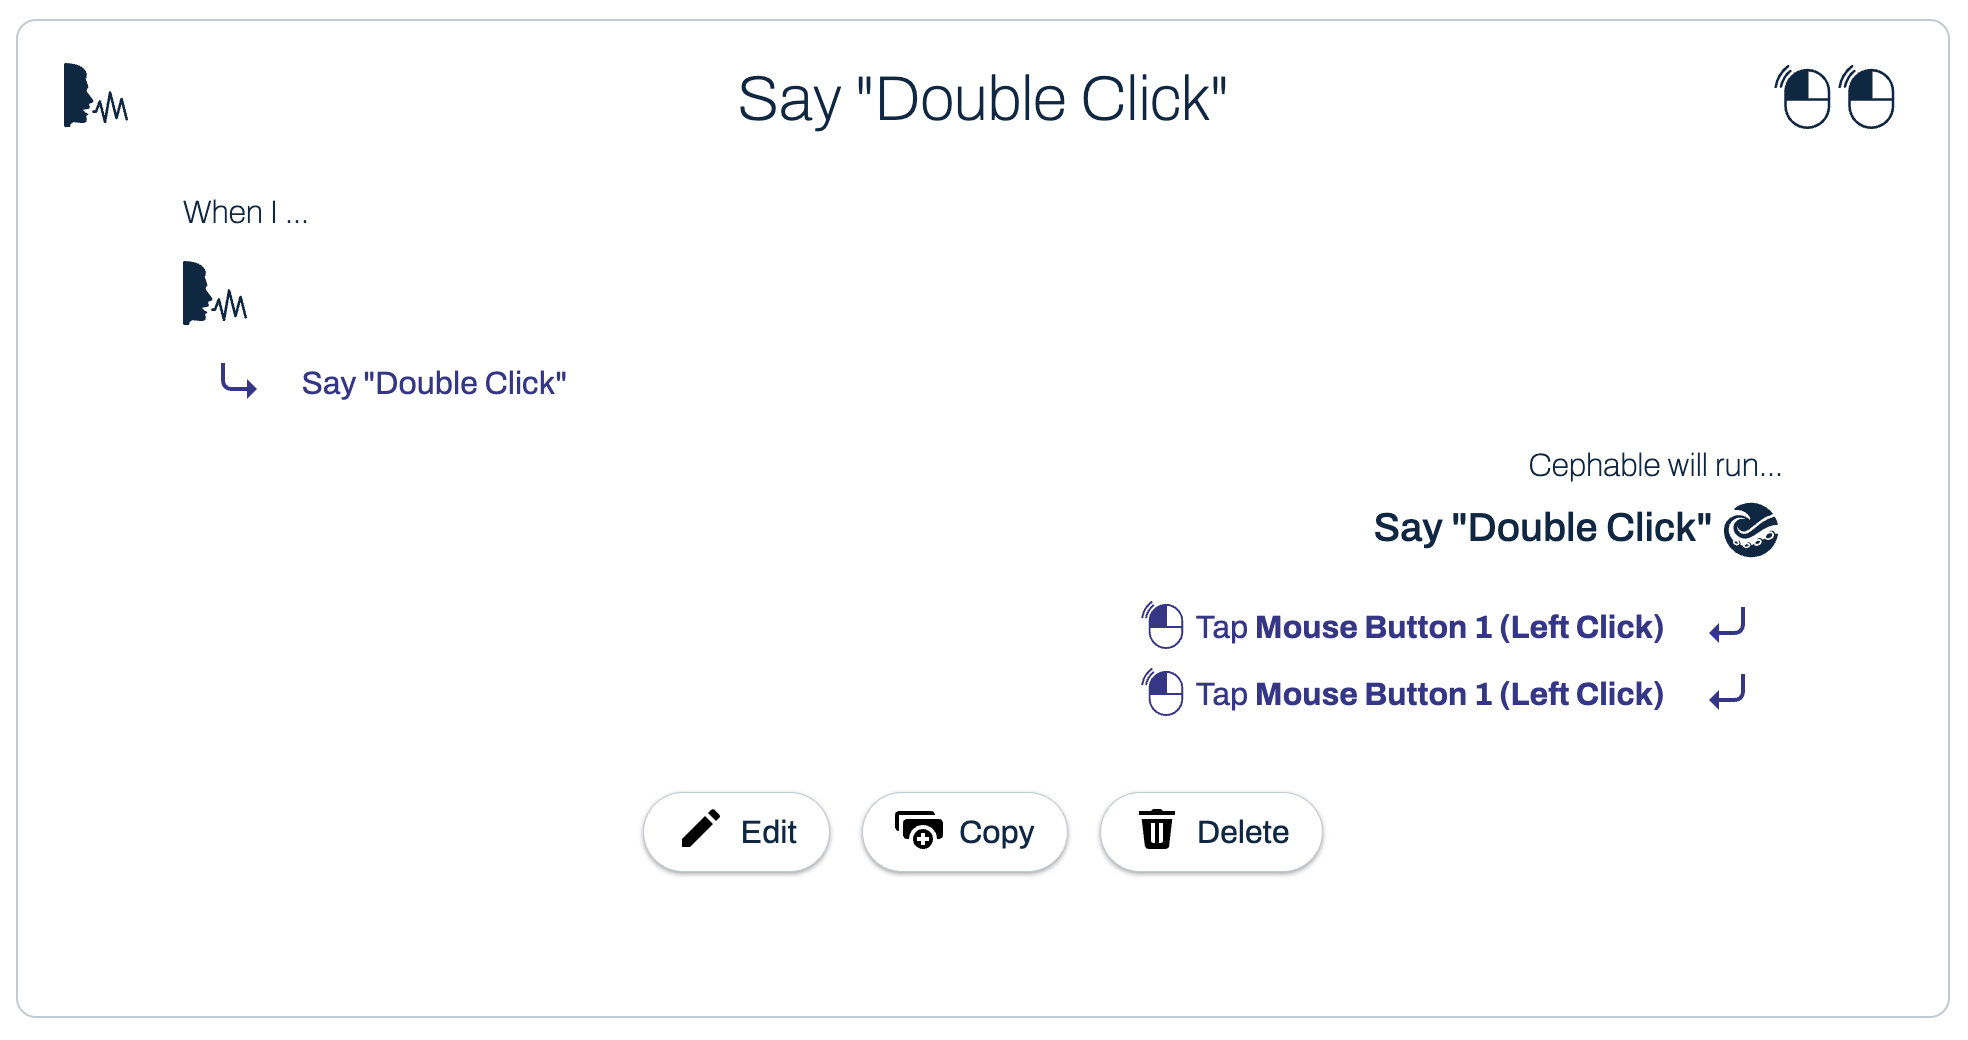
-Click “Multiple Things” as your output so that you automatically are given 2 steps to fill in.
-Select “Mouse Button 1 (Left Click) for both steps in the “Key/Button to Press” drop down menu
-Now you will see the icons and steps in the control summary.


7
Add Double Click Voice Control
-If you want to add an expression control in addition to the voice control for this profile, you can press the “Edit” button from the control summary in the last step.
-Then “Add another control”
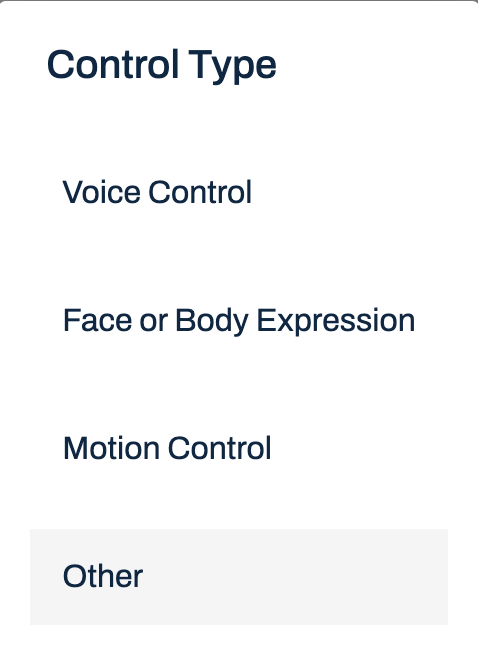
-Choose “Face or Body Expression”
-Select the movement you would like to add such as “Open your Mouth” from the drop down list
-Now the control summary will reflect both the voice control and expression control.
-Click Save and Finish



8
Use Your New Profile!
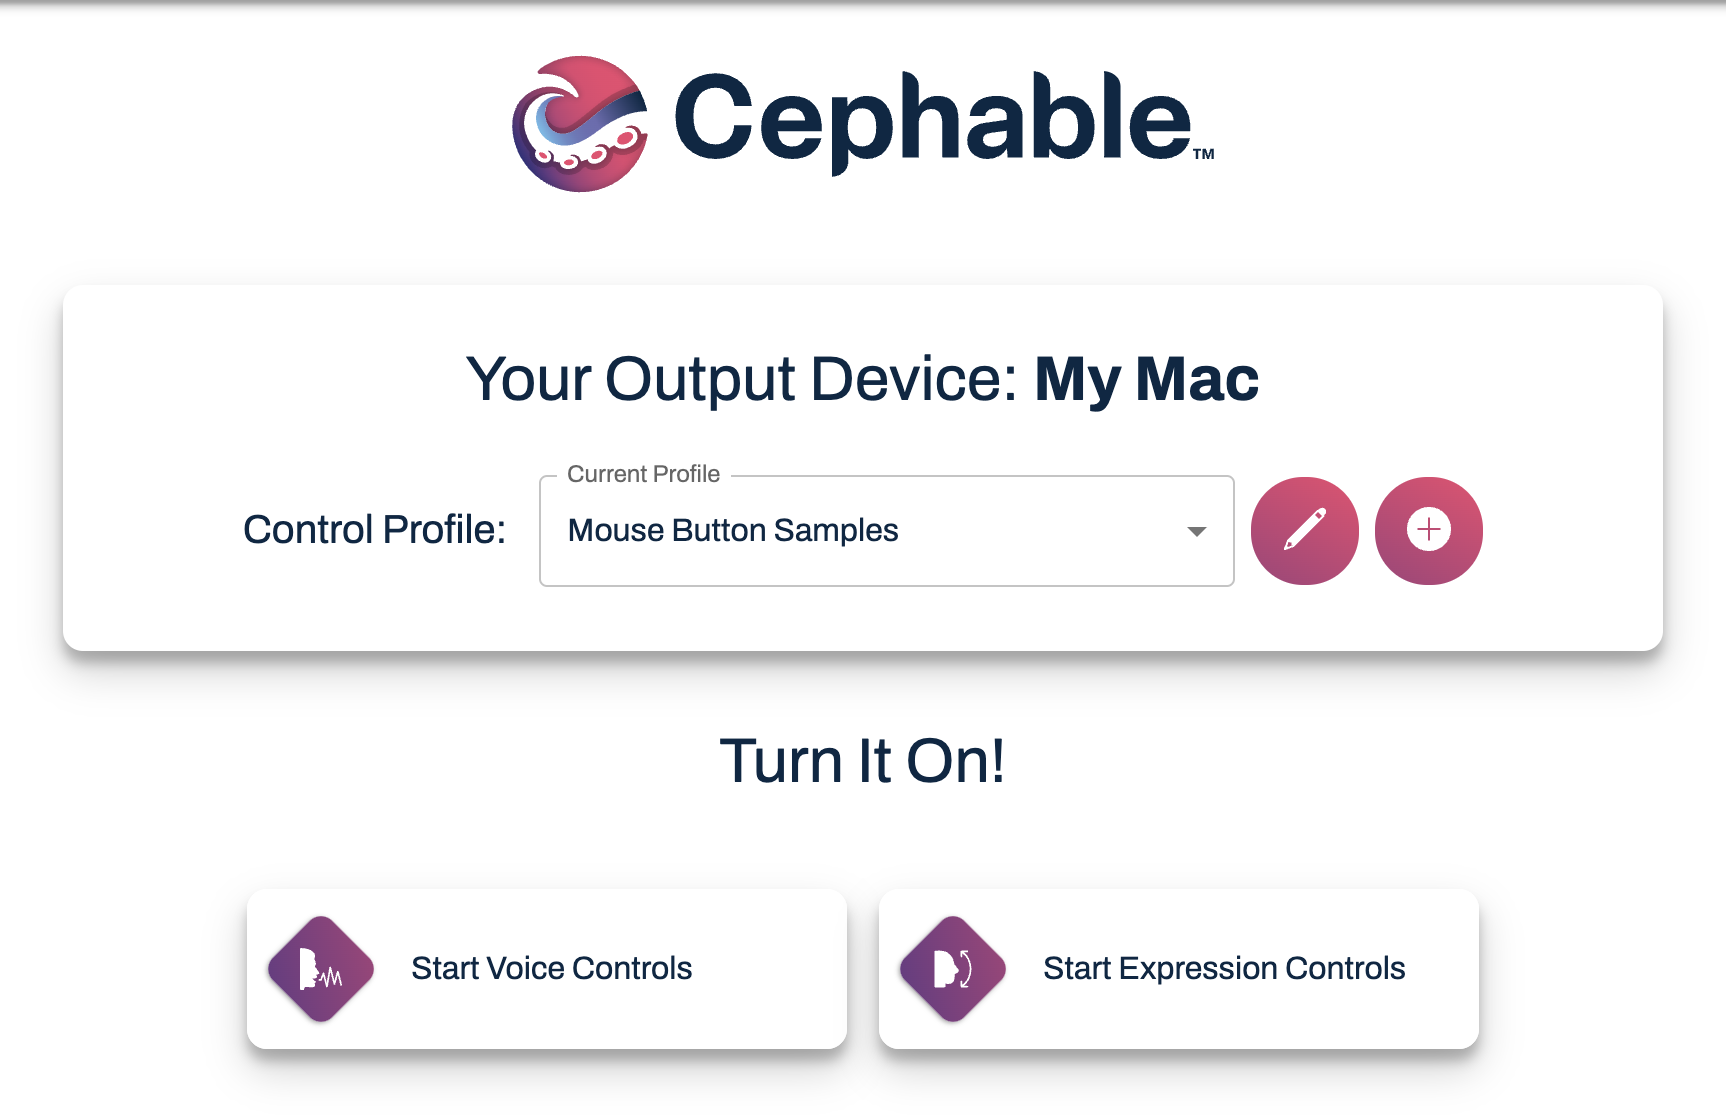
-Now from your home screen, make sure “Mouse Button Samples” is selected in the “Current Profile” dropdown.
-Turn on Voice Controls or Expression Controls to get started clicking!
-You can use these mouse button controls across your favorite apps and websites.
Thanks for learning and building profiles with us! We look forward to connecting with you on our social channels!
Need More Support?
We're here for you.
