Cephable’s Latest Update: v2
Cephable Version: 2.0 Released 1-4-2024
Presenter: Alex Dunn, Founder and CEO of Cephable
Goal: Outline and understand key features and updates of Cephable’s V2 release.
If you like videos, this video tutorial is for you. Don’t like videos? Scroll down.
Download Cephable
Click to download Cephable

Download Tutorial PDF
Printable Tutorial PDF
What’s New in V2
1
Introduction
Welcome to Cephable 2.0! We have a whole new design that makes Cephable even easier to use and helps you get to the right things faster. A few highlights include a new onboarding system to help you learn about the platform and try out our different input controls. There’s also a whole new dashboard that makes it even easier to jump into using your controls.
2
Sign In or Create an Account
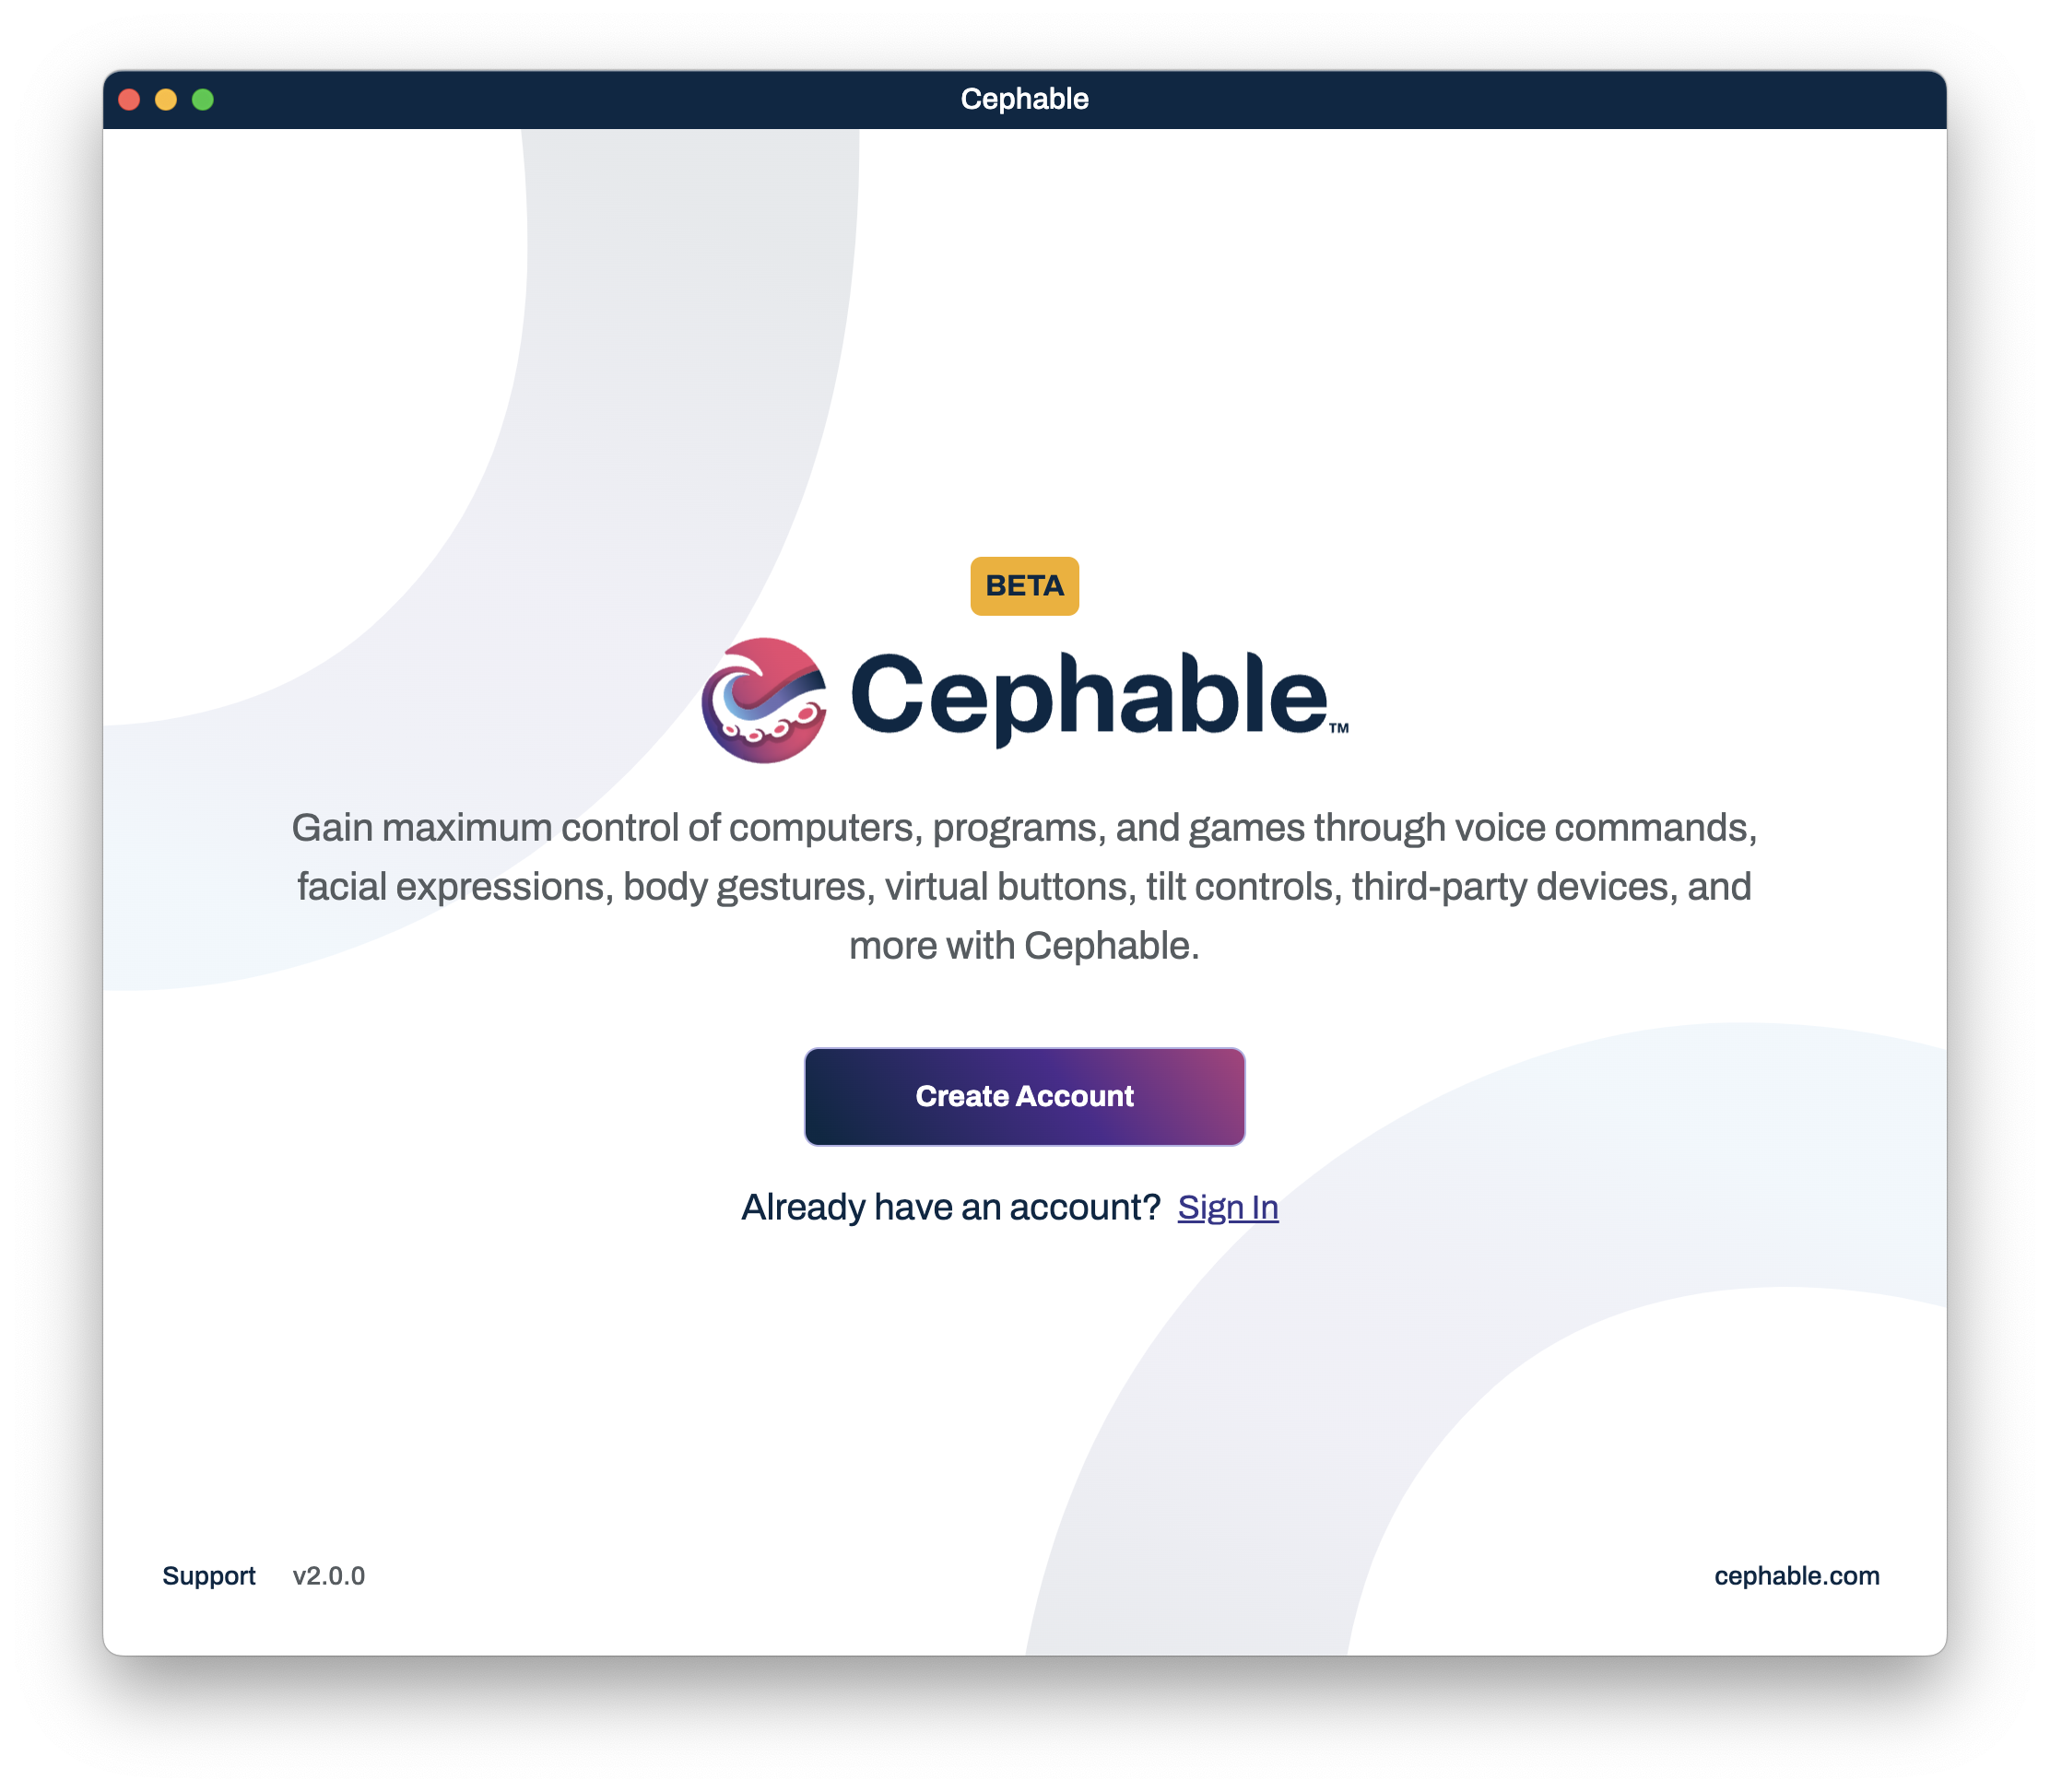
If you already have a Cepahble account, simply hit “Sign In” and all your controls, settings, and profiles will still be in your account.
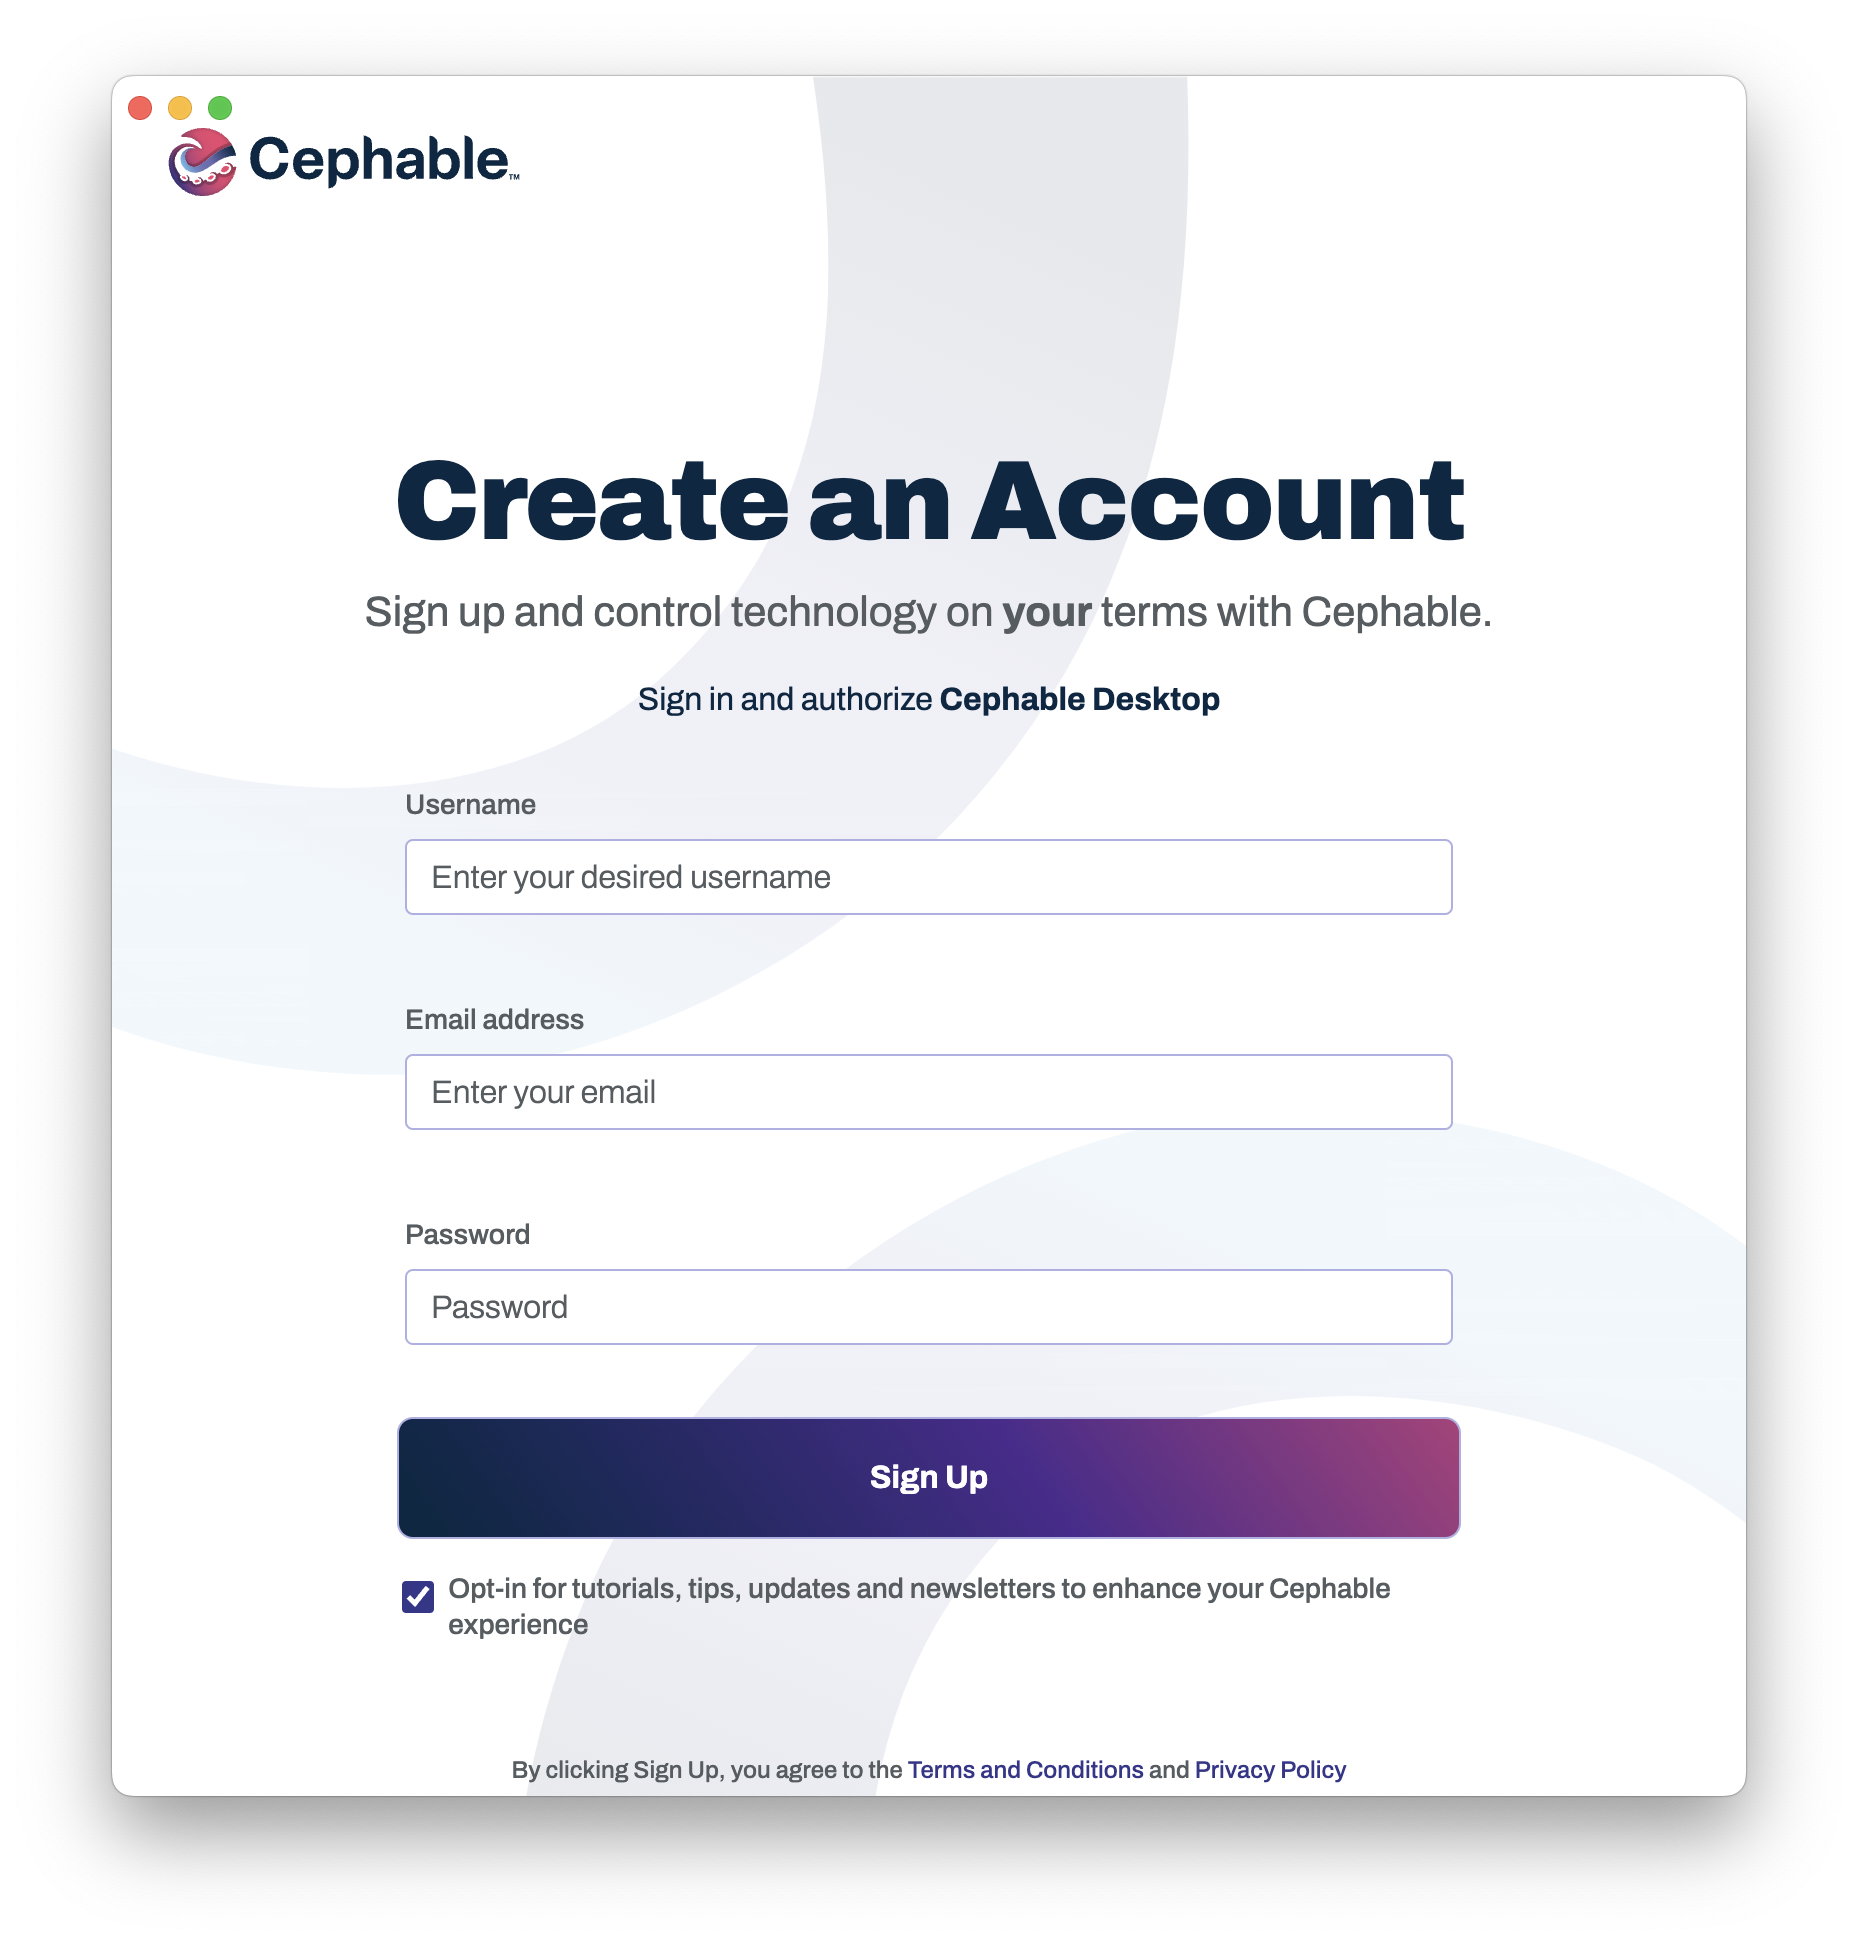
If you are new to Cephable, hit “Create Account” and choose a username, email address, and password.
On the Create an Account page, you’ll notice a new checkbox for opting into emails for tutorials, tips, and updates to enhance your Cephable experience.
You can always change this preference in “Account Settings” of your dashboard.
3
New Onboarding
The overview page summarizes how Cephable works and the two high-level concepts foundational to all Cephable users.
How Cephable Works
Cephable works by utilizing various input controls and mapping those to profiles giving you full control of your favorite applications and devices.
What are Inputs?
Input controls are the methods for operating your device, extending your computer capabilities beyond the traditional mouse and keyboard. These methods include voice commands, head movements, facial expressions, and additional peripherals.
What are Profiles?
Profiles allow you to connect and communicate with your computer in unique ways by pairing input and output controls. With profiles, you can instruct Cephable to perform tasks like saving a file with a head tilt or clicking ‘send’ on an email with a smile.
Next, click “Explore Input Controls”
4
Exploring Input Controls
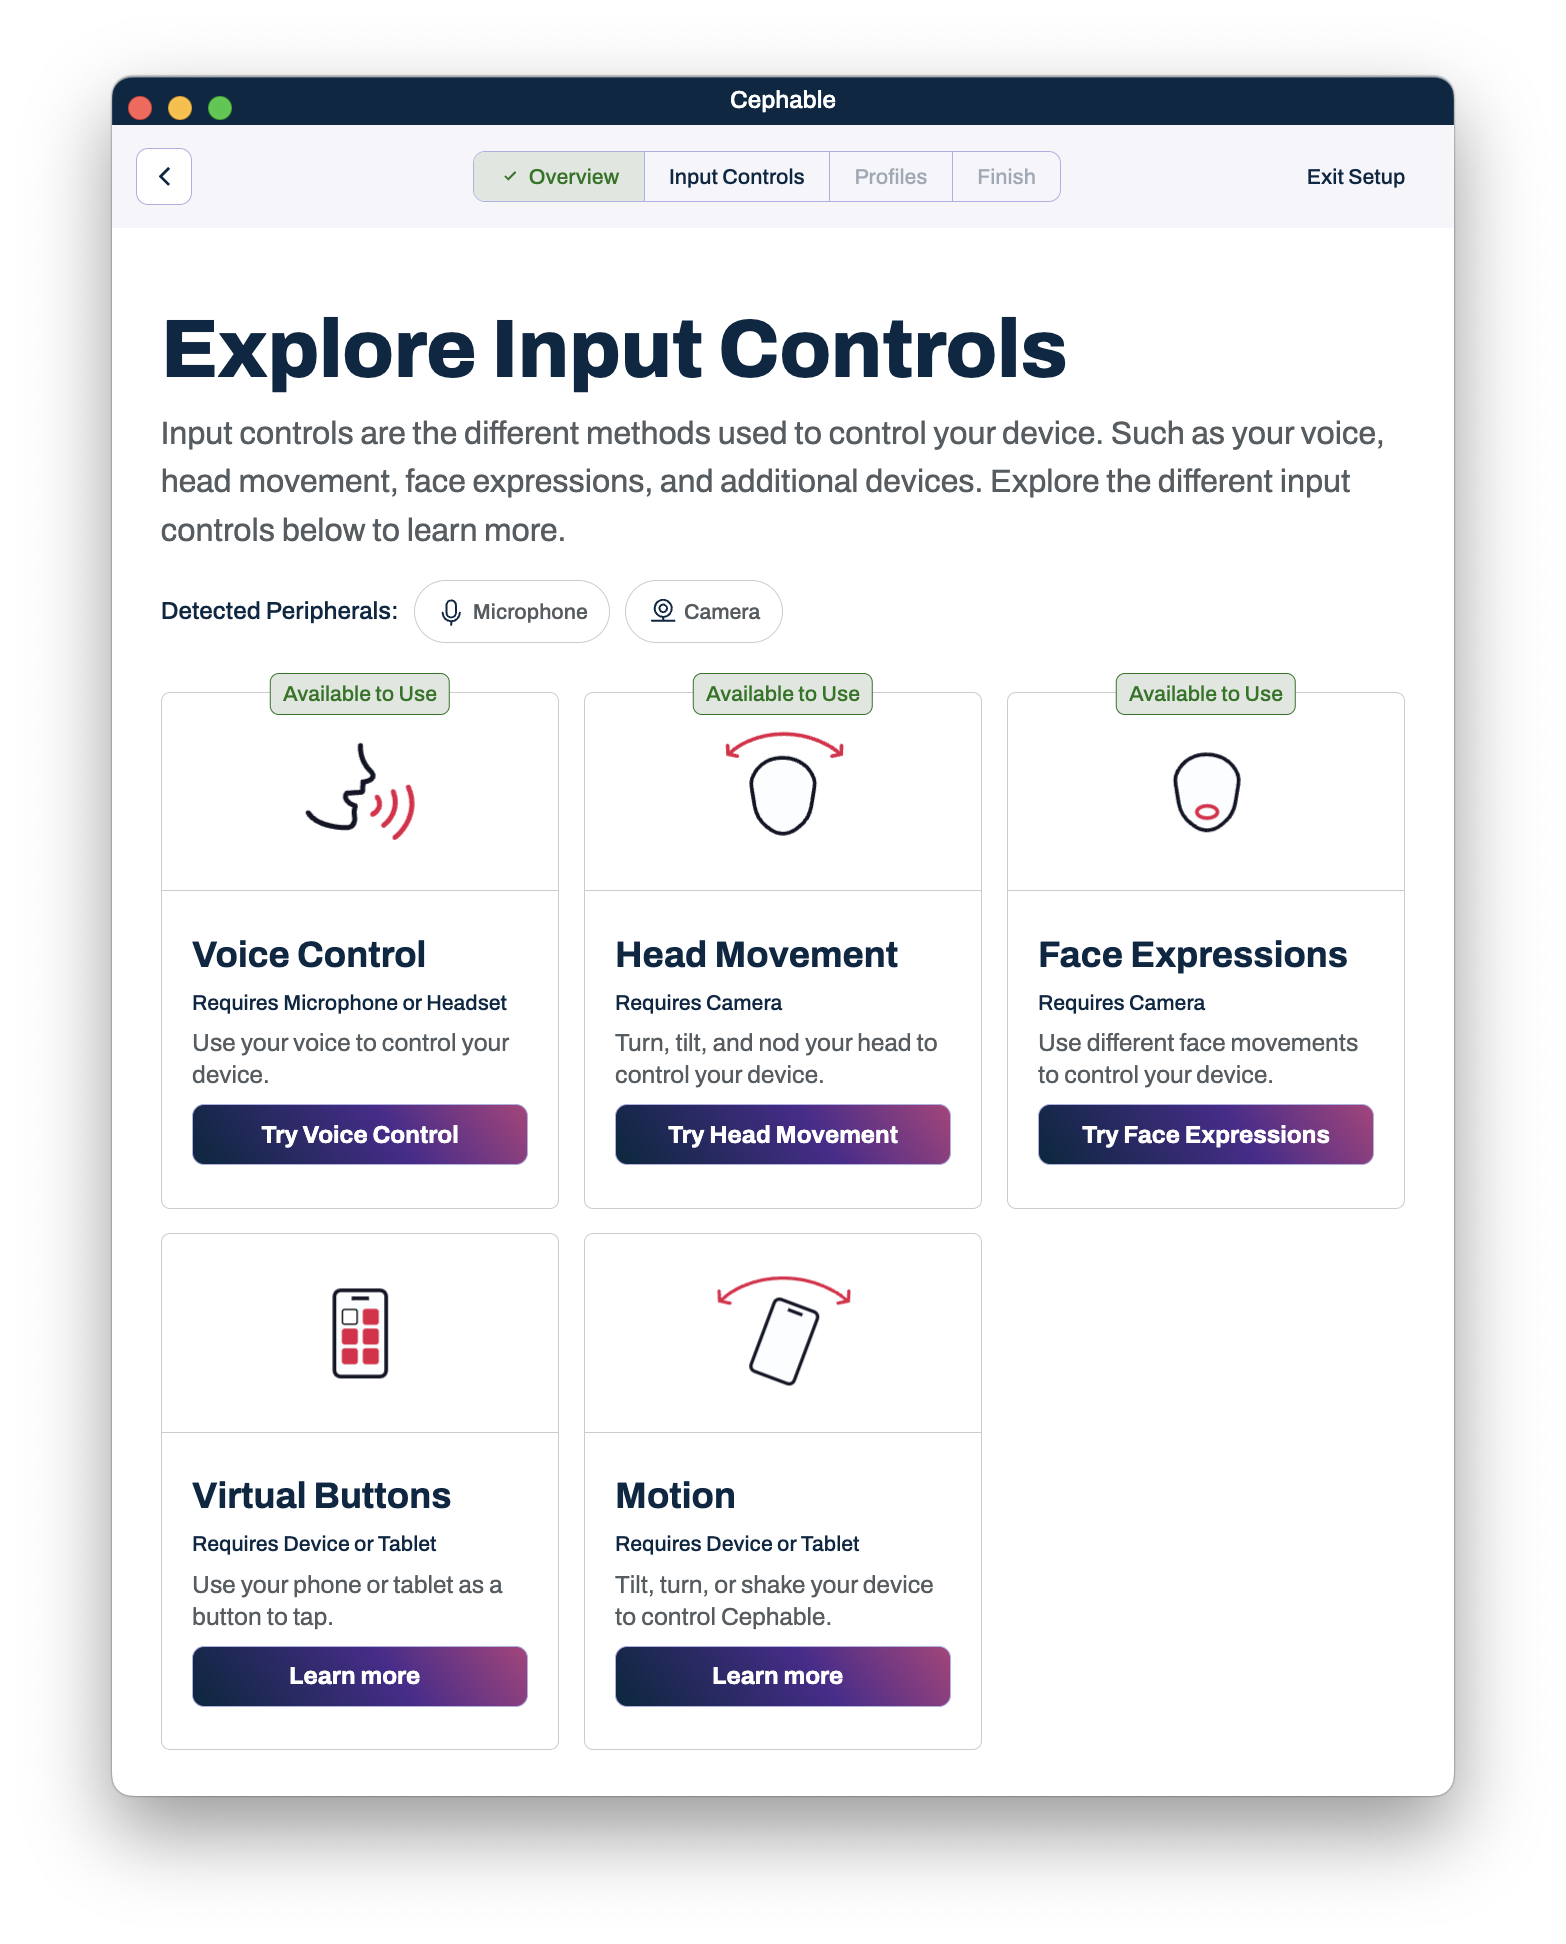
This page allows users to try out voice controls, head movement, and face expressions in the app.
You will see “Available to Use” in green above an input control when you have the respective microphone or camera connected.
Click “Try Voice Controls” as an example.
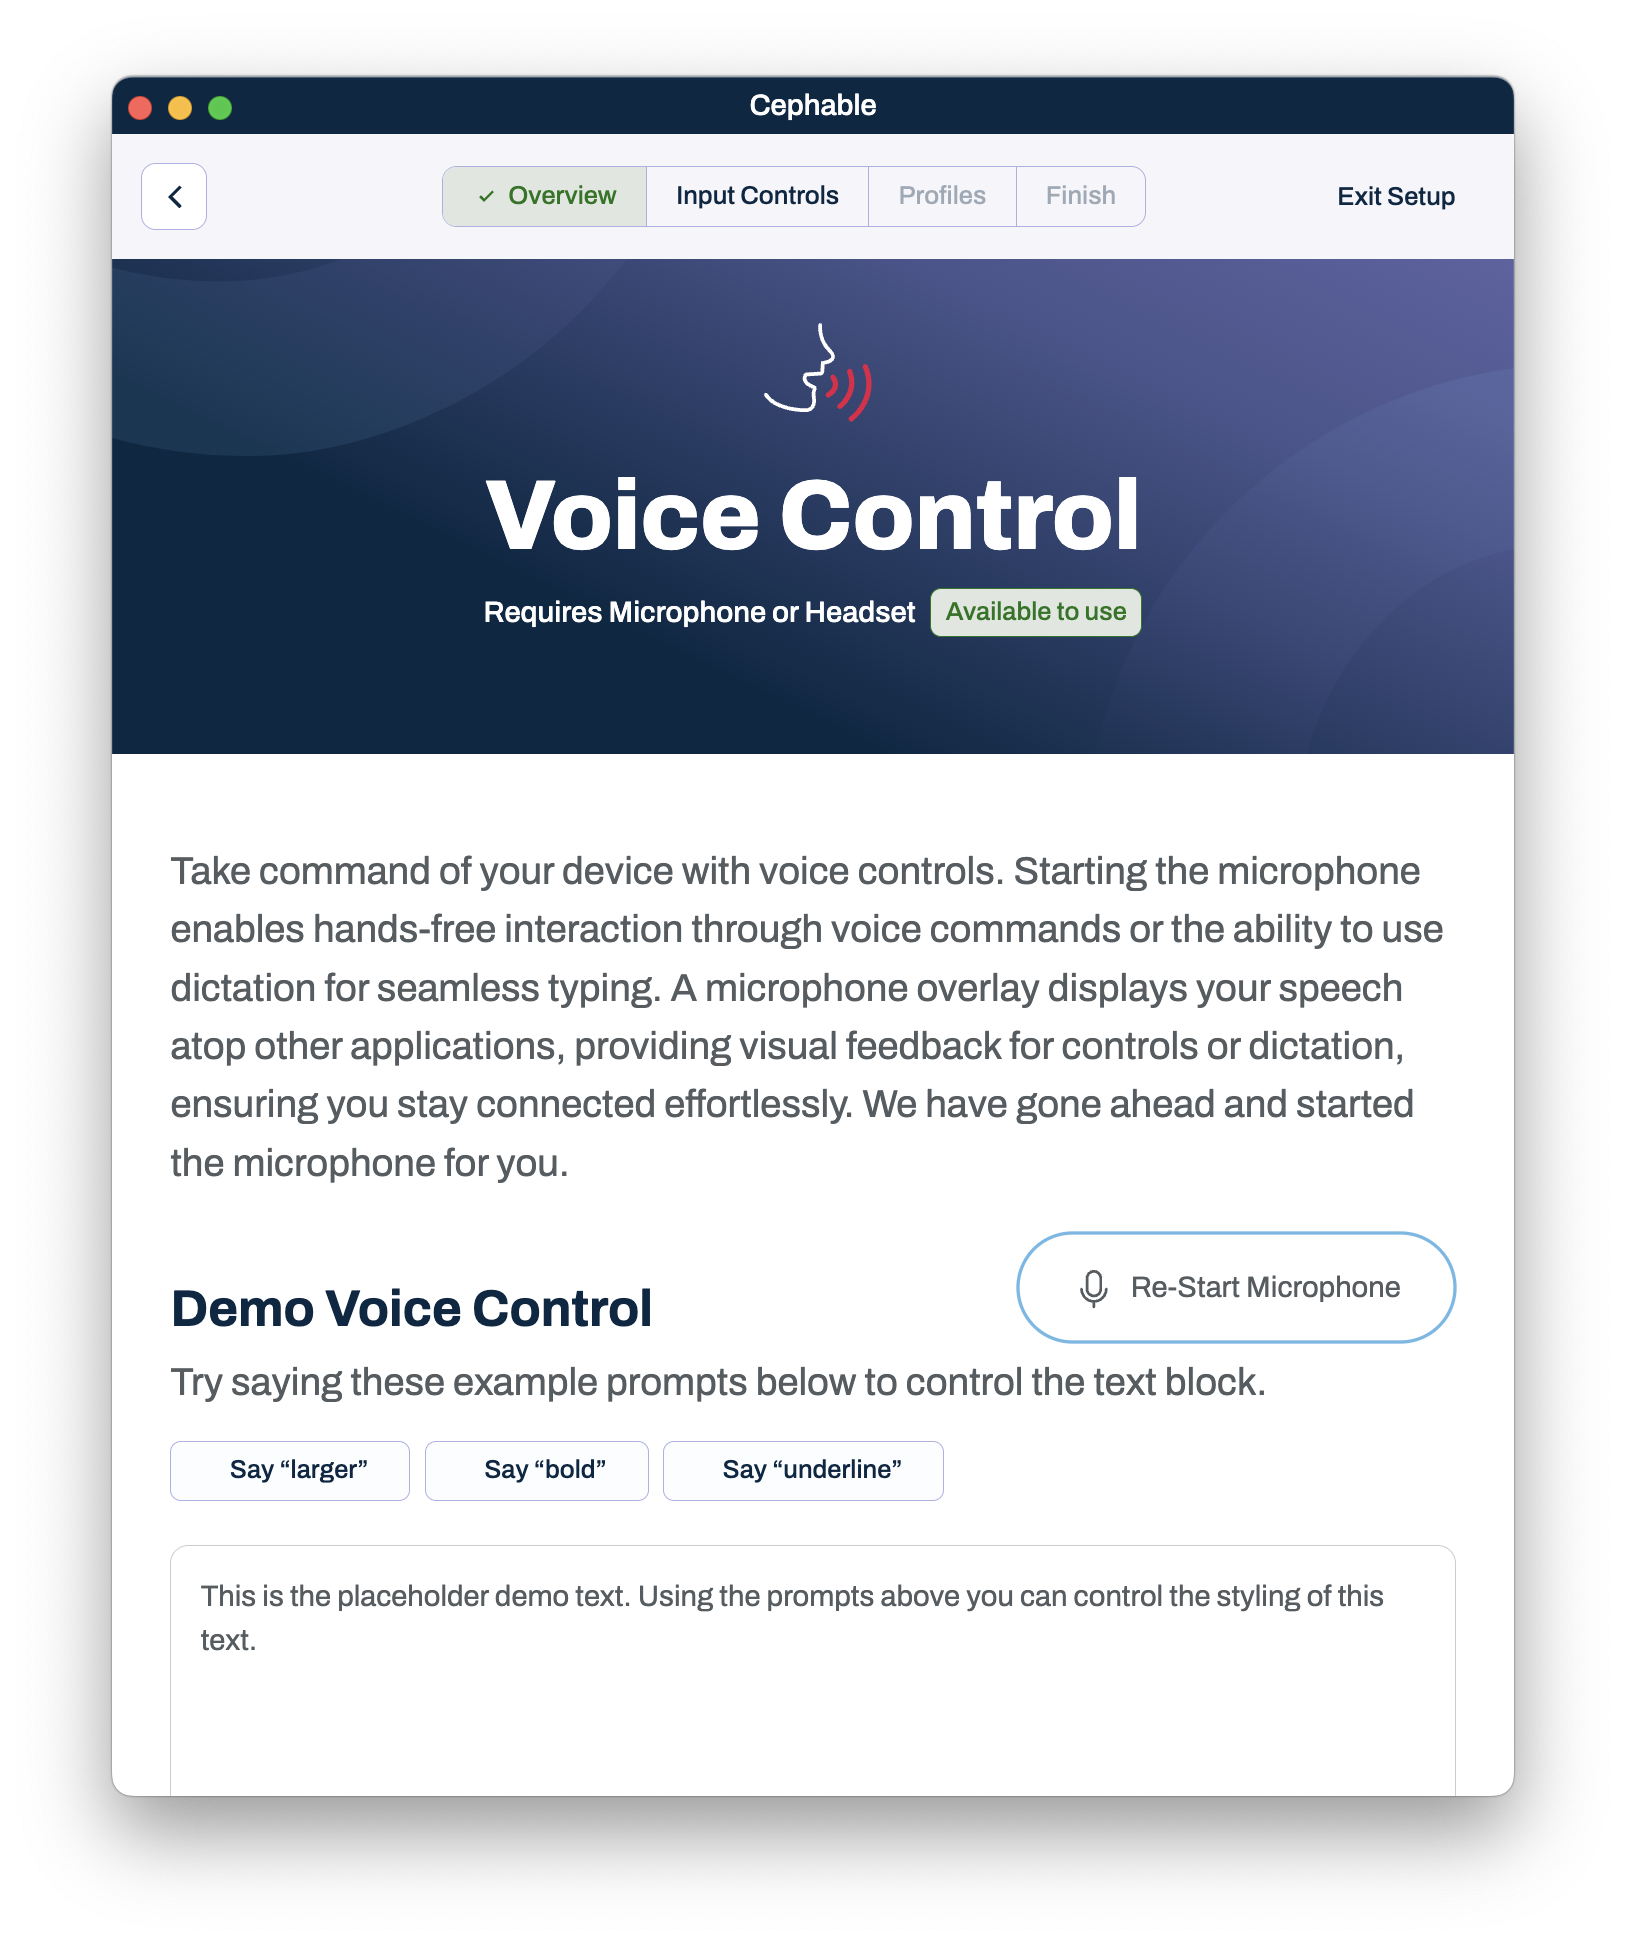
You’ll notice the voice control overlay pop up in the upper left-hand corner of your screen.
Now you can say the demo voice controls (larger, bold, underline) and see the text change as you speak.
You can click “Explore Other Input Options” to go back and try out head movement or face expressions. Or click “Continue with Voice Controls” to continue onboarding and using voice as your first input.
5
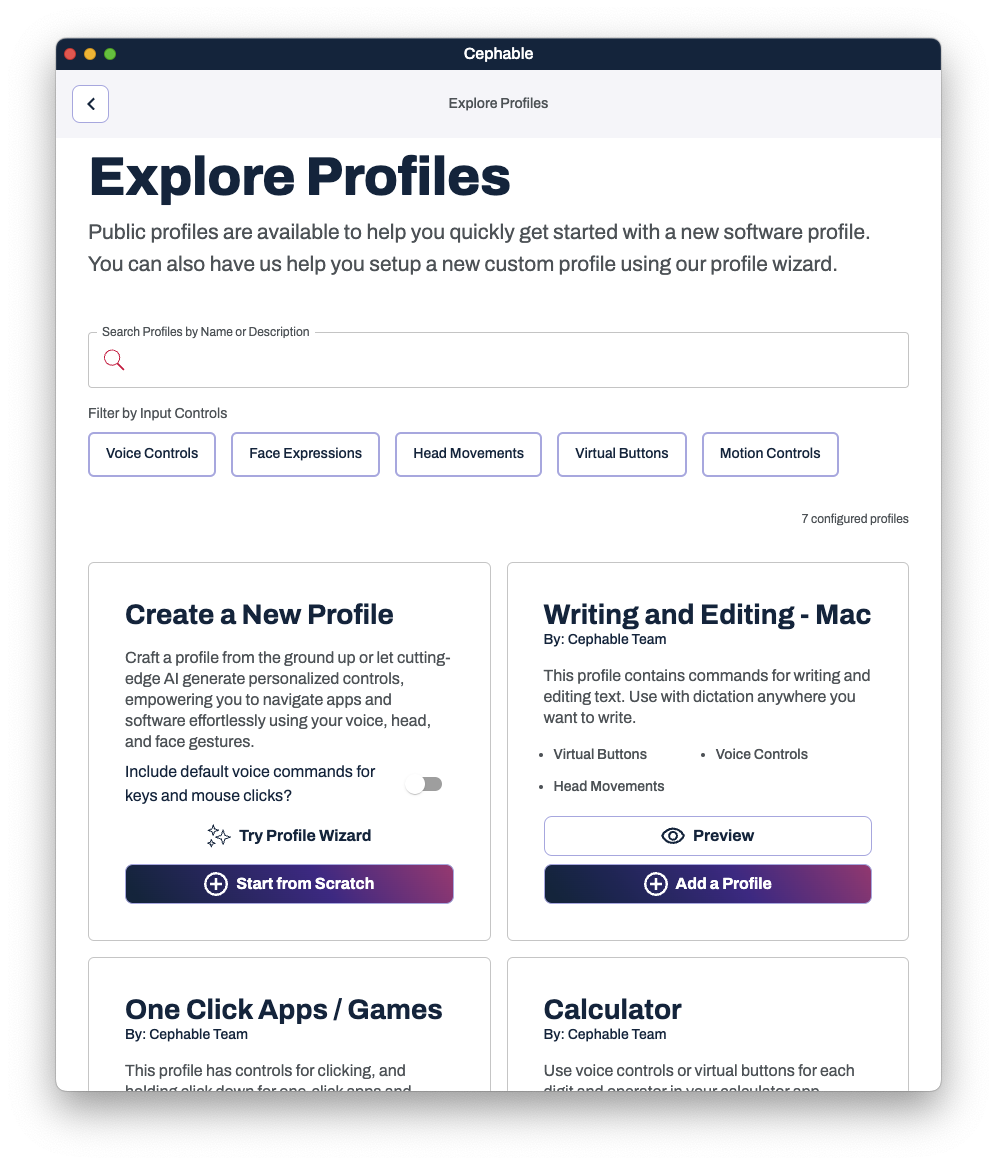
Add Profile to Get Started
This page allows you to select your first profile to get started.
If you click, “Continue with Voice Controls” on the previous screen, you’ll notice the button is highlighted blue on this page and filters to show only profiles with voice controls in them. Although, many pre-built profiles have a mixture of inputs included.
You can also search for profiles by name or use case in the search bar.
When you find a profile you’d like to try, hit “Add a Profile”
You’ll also find additional profile options such as “Start from Scratch” to build your own controls OR “Try Profile Wizard” to allow Cephable’s AI to generate a new profile for you. Check out our other tutorials for more details
After making your desired edits, save your changes by clicking “Finish Edit” for individual controls.
Or, click “Save and Finish” at the top of the profile page to save all your edits.
Use “Save and Finish” when you’re done editing all controls in a profile to return to the home screen.
Once you click “Add a Profile” – You can edit or add controls to this profile template. Once you finish, click “Save and Finish.”
Congrats! You just finished onboarding!
6
Cephable Dashboard
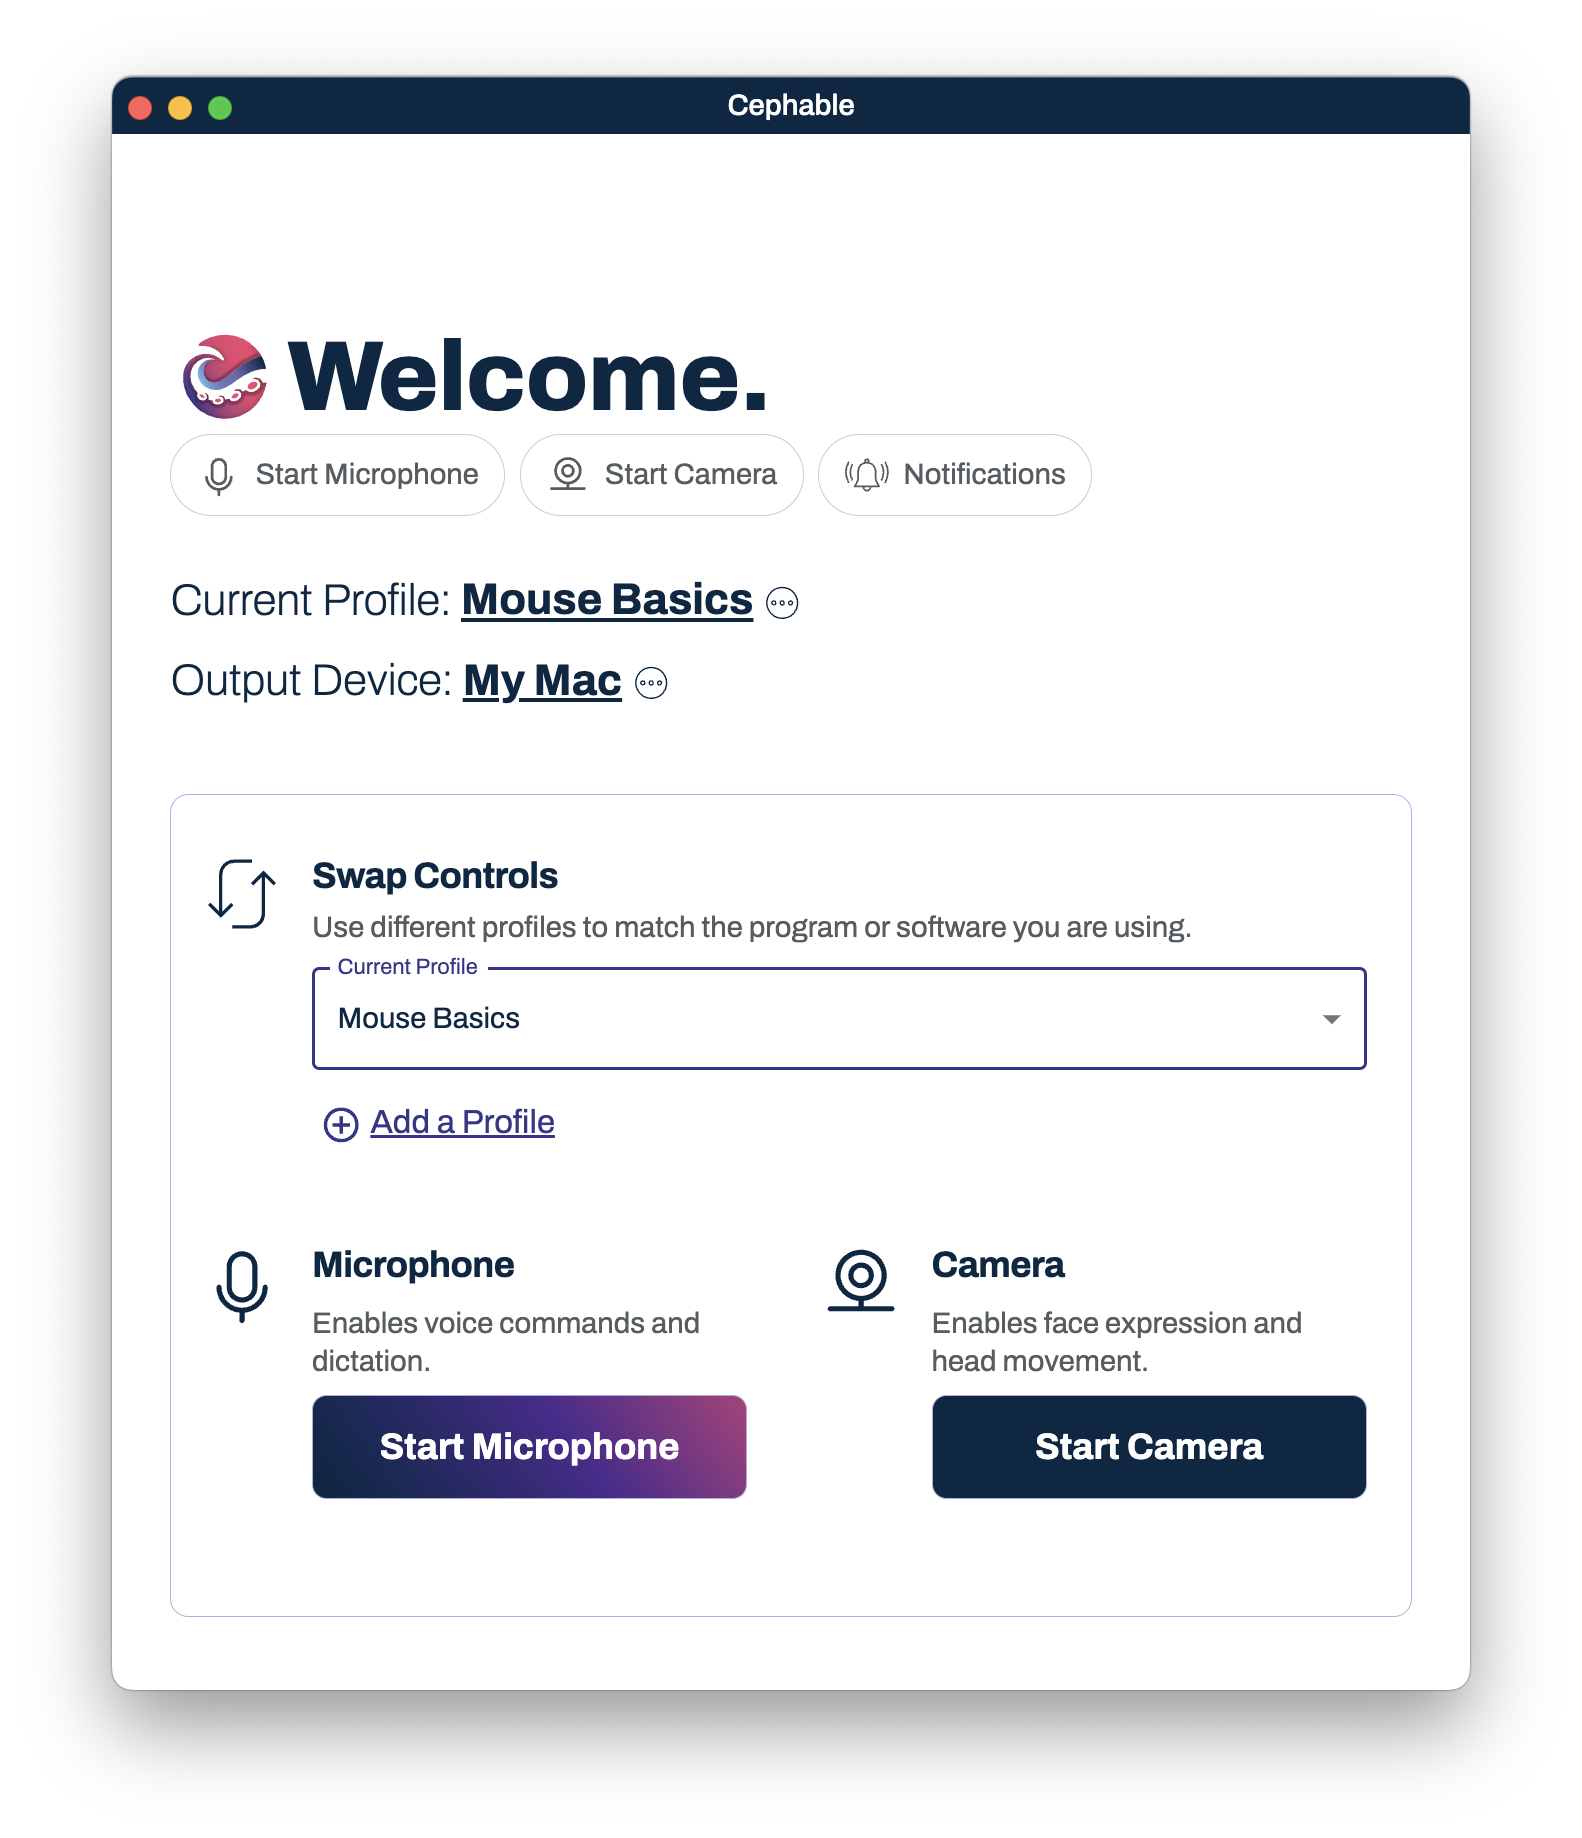
Welcome to your new Cephable Dashboard. You’ll notice that the buttons for “Start Microphone” and “Start Camera” are now at the top of the page. This makes it convenient for keyboard-only users to quickly tab to the important parts of the app to get started.
As we move down the page, you can see your current profile followed by “…” which will allow you to view/edit this profile.
You also quickly swap profiles from the drop-down menu.
In the “Configure” section of the dashboard, you can further explore/manage/create profiles and modify your camera/microphone/app/account settings.
Enjoy the improved Cephable experience with version 2.0 and make the most of the new onboarding. prebuilt profile templates and enhanced features.

Need More Support?
We're here for you.
